

You know, I realized as I typed this title for this post, that given the recent exploits of The Bakeanistas and some of my previous Daring Baker posts, you are going to be wondering if The Sour Dough is turning a bit risque! Not too much I promise you. But you have to admit when it comes to yeast breads, there is plenty of room to make the obvious jokes about stumps of dough and things rising...
This month's challenge, Sherry Yard's Danish Braid from her book, The Secrets of Baking: Simple Techniques for Sophisticated Desserts
I made this challenge three times. Once with my other twin sister from the north, Ivonne the night before the group that Kelly and Ben invited to bake together met on Skype resulting in a very delicious apricot preserve danish. Again the next day with Kelly, Ben, Sara, my yeast weedhopper John, Lis, Helen, and Chris (who just chatted with us) when the dough made a hugemungous raspberry cream cheese danish that was devoured in the record time of two minutes in my office the next day. Finally, last weekend on Sunday while I was doing the Garlic Knots with the gang because I was having so much fun with the challenge dough I wanted to use the Apple filling that recipe called for. I only made half the dough recipe and the formed danish is currently in my freezer waiting for the first touch of fall to be unthawed for its final rise.
The first time I made the dough I didn't particularly like the dough. I thought it was too soft and never really got solid even after the 30 minute rest in the fridge the recipe called for between turns and the overnight rest in the fridge and the softened butter technique yielded butter squishing out of the ends of the turned dough when I was rolling the dough out for the next turn. The second time I made the dough, I increased the rest time between turns to 45 minutes and the dough was more firm but still pretty soft. For the final time, I followed the method of building the butter block that Cook's Illustrated Baking Illustrated: A Best Recipe Classic
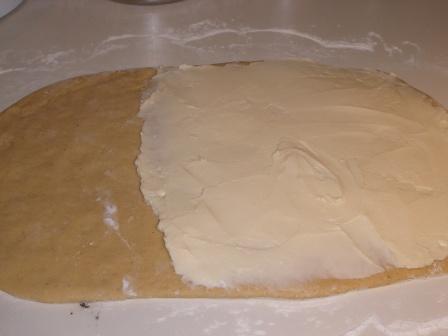
Now, while time consuming, making this danish was pretty straight forward, after making the dough you roll out the dough into a large rectange and on two-thirds of the dough spread the butter block.
Then you fold the unbuttered third over the center buttered part and then the last buttered top on top. This is the first turn.
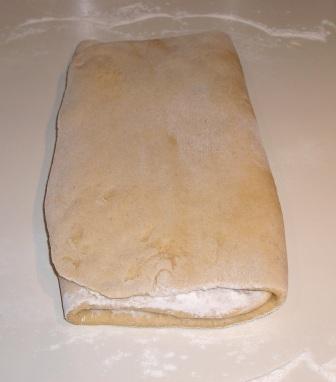
For this recipe, three more turns will be needed. Each turn consists of rolling out the dough (this dough was really springy and required several rests between rolls) and folding the dough the same way. After each turn, the dough rests in the fridge (remember 45 minutes was better than the 30 minutes in the recipe).
After the overnight rest in the fridge, you roll out the dough into a very large rectangle in preparation for cutting the braid fringes and filling the danish with either the apple topping or with another topping of your choice.
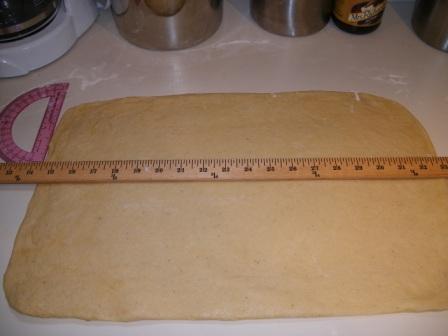
Of course, ever the engineer, I had to bring out some tools to make sure I was able to have a perfectly balanced braid. Then you cut strips into the rectangle to form the braid, the braid fringe if you will.
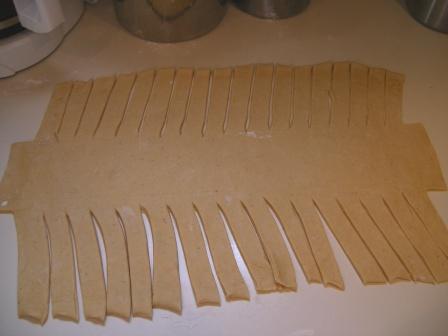
If you look close enough, you can see the markers for the place to quit cutting into the braid and leave enough dough to fold over the filling, the demarcation line of filling, and yes, the 1 1/4 inch width for the braid fringes. I'm such a dough nerd....
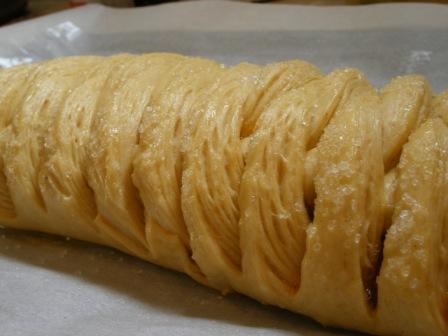
After spreading the filling in the center third and folding over one end, you just alternate the fringes so you have a nice, pretty even braid.

You let the braid rise until it gets double and puffy
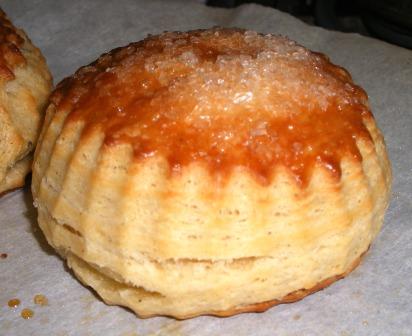
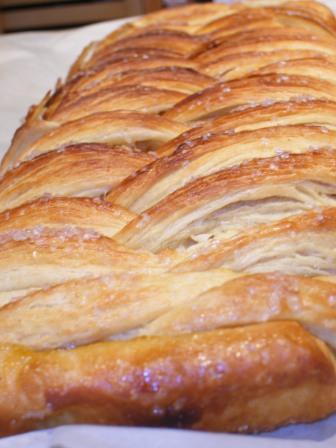
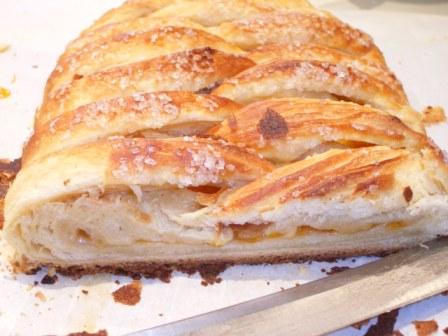
I brushed the braid with an egg wash and then sprinkled baker's sparkle sugar on top. I think most danishes are sweet enough without adding a glaze or frosting. You bake the braid until it is golden brown. In my oven that was about 25 minutes. When it comes out, you have a gorgeous flaky danish.
The perfect coffee partner in the morning, or if you can get it to last that long later in the afternoon over a cup of tea with friends and gossip!
To see how the hundreds upon hundreds of Daring Bakers fared this month with their laminated doughs and danishes, go check out our Blogroll.
Thanks Kelly and Ben! I had a blast with this recipe and baking with the gang.


